RELEASE KEN Controls
Every input for PC and mobile — plus when to block, parry, or dash.
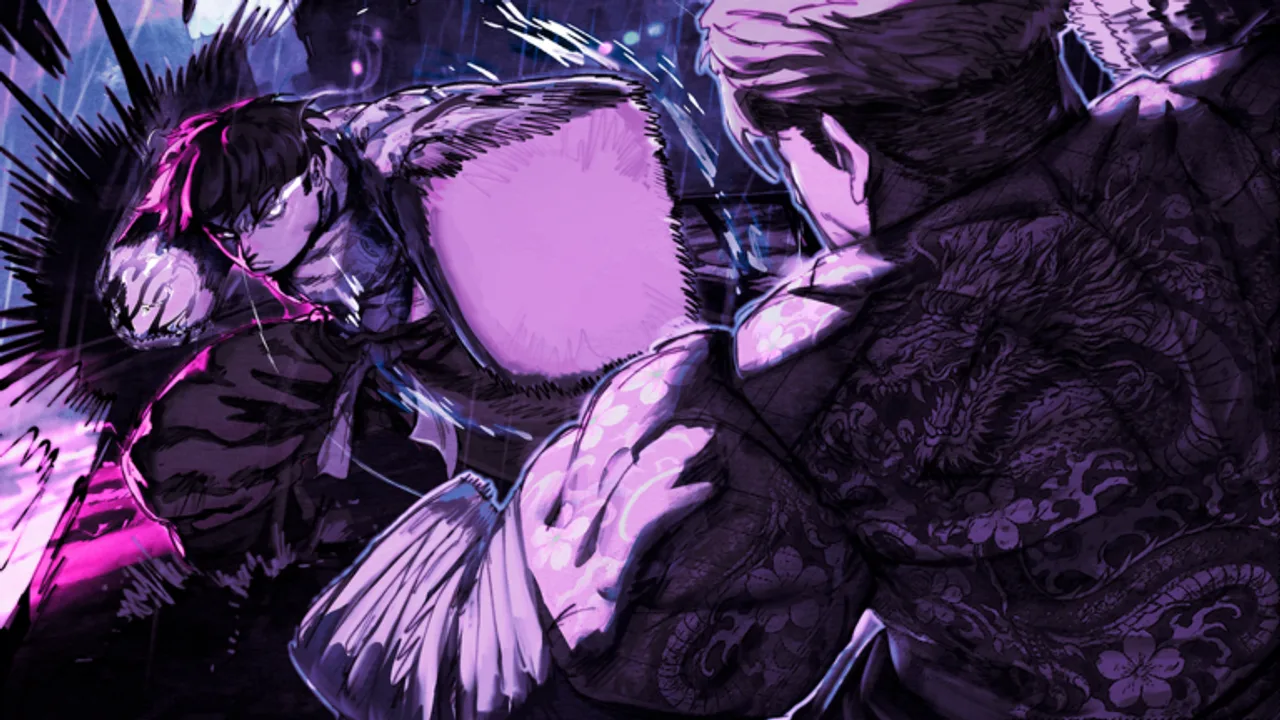
Combat in [RELEASE + MOBILE] KEN (MS: Ken) is only as strong as your inputs. The game uses a tight action set shared across PC and mobile: light attacks, critical swings, dashes, blocks, parries, and finishers. Stamina and hunger still govern how long you can press an advantage, so controls are not just key binds — they are resource management. This page is the full reference for Roblox place 100096058035179. Pair it with Getting Started for progression context and How to Train once your stats need to match your mechanics.
PC control reference
| Action | Input | Notes |
|---|---|---|
| Move | W, A, S, D | Standard Roblox movement |
| Run | W + W (double-tap forward) | Faster map traversal; drains stamina in combat |
| Dash | Q | Short burst; primary spacing tool |
| Basic attack | M1 (left click) | Chainable light combo |
| Critical attack | M2 (right click) | Heavier hit; used in parry and block counter |
| Block | F (hold) | Reduces incoming damage; can be punished if held too long |
| Parry | F + M2 | Timed defense; rewards successful reads |
| Grip / execute | B | Used on downed targets |
These bindings come from the official MS: Ken control sheet and community-verified playtests. Rebind only if Roblox client settings allow; most ranked players stay on defaults for muscle memory.
Mobile control reference
Mobile maps the same actions to on-screen buttons. Layout varies slightly by device aspect ratio, but expect:
- A light attack button for M1 chains
- A heavy or critical button for M2
- A dash button where PC uses Q
- Block on a dedicated hold button (F equivalent)
- Parry as a combined block + heavy input or a separate prompt when available
- Grip on a context button near execute prompts
Because touch buttons are smaller, prioritize camera sensitivity you can control with your thumb while dashing. Practice whiff punishes in safe zones before taking mobile into fight club — see Raids and Organizations for high-traffic PvP areas.
M1 and M2 — offense fundamentals
M1 is your pressure tool. Use it to check opponents, finish low-health targets, and bridge gaps when dash is on cooldown. Chains vary slightly by fighting style, so re-learn combo timing whenever you swap styles.
M2 is slower but chunkier. It appears in three critical contexts:
- Raw punish when an enemy whiffs a heavy or dash
- Block counter — blocking with F and answering with M2 breaks passive defenders
- Parry follow-up — after a successful F+M2 parry, convert with M1 or M2 based on range
Do not spam M2 in neutral; higher-level players parry predictable heavies.
Dash, run, and spacing
Q dash is your escape and engage button. Good dash discipline wins MS: Ken fights:
- Dash sideways to avoid linear M2s, not always backward
- Track stamina before committing to a second dash
- Combine dash with M1 to close after a parry
W+W run helps rotations between gyms, vendors, and raid portals. In combat, running without awareness gets you gripped or comboed. Toggle run off when approaching red-name players.
Block, parry, and grip
Hold F to block. Blocking too long invites guard breaks or grab setups depending on patch state. Tap block for single hits when you are unsure of timing.
Parry (F+M2) is the skill ceiling input. Use it when:
- You expect a single heavy (M2) rather than a full M1 string
- You have stamina to act after the parry window
- You know the enemy style’s swing telegraph
Failed parries leave you vulnerable longer than blocking — drill in low-stakes duels first.
Grip (B) finishes knocked or downed opponents. In PvP and fight club, gripping secures bounties and prevents recovery. Do not grip in unsafe areas if a third party is nearby unless your org squad controls space.
Stamina, hunger, and HUD awareness
Blue stamina pays for dashes, sustained blocks, and extended M1 strings. Yellow hunger influences recovery rates. If stamina hits zero, you risk knockout states — especially under org raid pressure. Keep food stocked when learning parries; see economy tips in How to Train.
Style-specific control notes
Each fighting style from Fighting Styles modifies reach, startup, and cancel routes. Muay Thai players, for example, often rely on close-range M1 pressure into knee or elbow windows (exact move names shift with updates). After unlocking a new style, spend five minutes in a private server or quiet corner re-mapping your M1/M2 rhythm before returning to tier-list matchups on Fighting Styles Tier List.
Training drill routine (ten minutes)
- M1 x3 into M2 cancel — repeat until consistent
- Block single M1, answer with M2
- Parry timed M2, dash out if miss
- Dash-in M1, dash-out at low stamina
- Grip a downed training dummy or willing spar partner
Run this daily until inputs are automatic, then align stats via Starter Build recommendations.
Related guides
- Getting Started — first-hour roadmap
- How to Train — stats that make your inputs matter
- Fighting Styles — move-set changes per style
- Raids and Organizations — team fights and fight club
- Tier List — which kits reward mechanical skill
Frequently Asked Questions
Quick answers for RELEASE KEN players on Roblox.
What are the PC controls for RELEASE KEN?
M1 basic attack, M2 critical, Q dash, W+W run, F block, F+M2 parry, and B grip. Movement uses WASD. These match the official MS: Ken control list.
How do parries work in MS: Ken?
Press F and M2 together as the enemy heavy lands. A successful parry opens a punish window; a miss leaves you exposed longer than holding block.
Does mobile have the same controls?
Yes — the same actions exist as touch buttons. Layout differs by device, so adjust camera sensitivity and practice dash spacing before PvP.
When should I use grip (B)?
Use B on downed opponents to secure finishes in PvP, fight club, and raids. Check surroundings first — gripping in a crowd can get you third-partied.
Why do my attacks feel weak even with good inputs?
Stats and fighting style scale damage. Train via [How to Train](/guides/how-to-train/) and unlock a style from [Fighting Styles](/guides/fighting-styles/) before blaming controls.