
How to Train in RELEASE KEN
Gyms, training points, money loops, and stat priorities for MS: Ken.
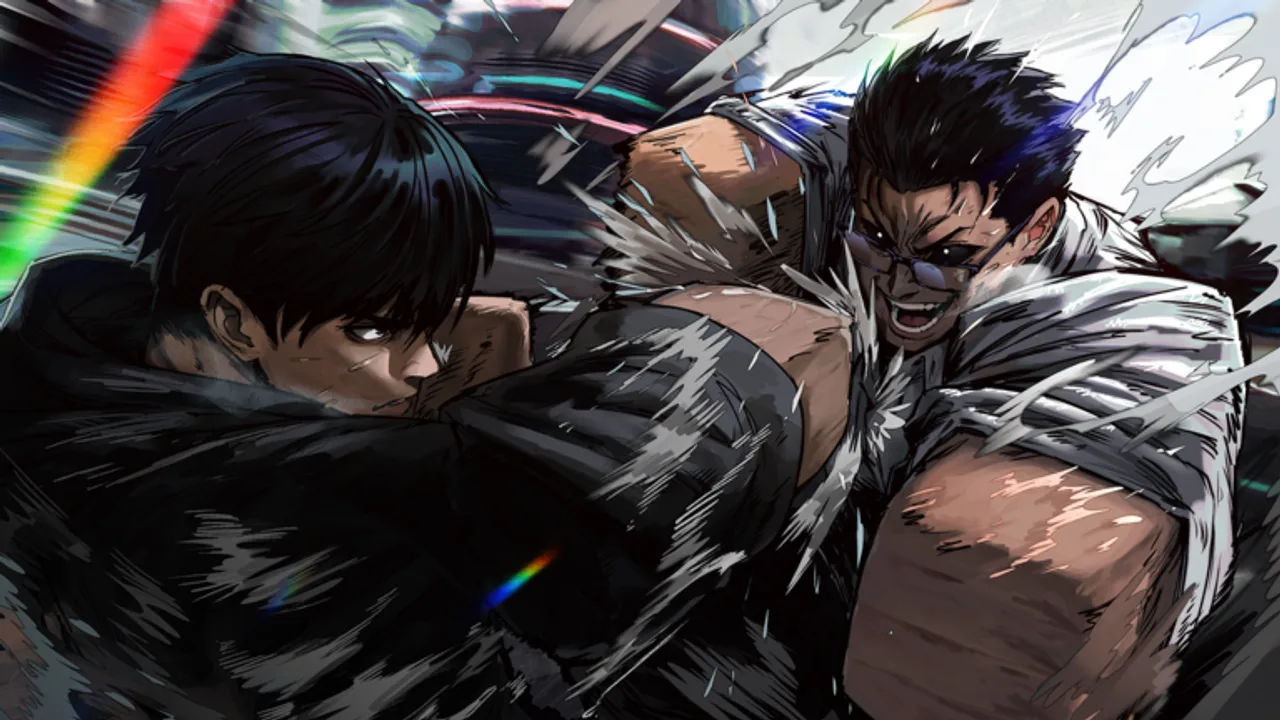
Stats are the engine of [RELEASE + MOBILE] KEN (MS: Ken). Fighting styles, raid eligibility, organization ranks, and PvP outcomes all assume you trained efficiently — not randomly. This guide explains gym loops, training points (TP), money methods, and how to sync your stat plan with combat inputs from Controls and style goals from Fighting Styles. If you just joined, start with Getting Started for spawn basics.
How training works in MS: Ken
Training happens at gyms and NPC trainers scattered across the map. Interacting with equipment or coaches raises individual stats — strength, defense, speed, and related combat attributes depending on current patch naming. Each session consumes time and sometimes currency; returns diminish if you spread TP without a target build.
Training points (TP) are the currency of long-term growth. You earn TP from milestones, quests, defeats, and repeatable training outcomes. Spend TP deliberately on stats that unlock the next gym tier or fighting-style requirement. The Training Checklist page helps you track per-stat goals instead of guessing.
Because MS: Ken is in early access, gym locations and TP costs can shift. When a patch drops, re-walk your usual loop once to confirm prices and NPC positions before committing a week of grinding.
Fastest early stat route
For brand-new accounts on Roblox place 100096058035179:
- Learn controls first — bad stamina habits waste gym time. See Controls.
- Pick a provisional build — check Starter Build and Tier List for stat priorities tied to your first style.
- Run the nearest gym circuit — train primary offense and defense stats evenly until you hit the first trainer gate.
- Bank money in parallel — style unlock fees arrive faster than you expect.
- Spend TP in bursts — align TP dumps with trainer thresholds rather than drip-spending one point at a time.
Avoid vanity stats or remote gyms with travel downtime until your core numbers match the style you are saving for.
Gym selection and travel efficiency
Not all gyms are equal once you leave the starter hub:
- Starter gyms — low requirements, safe from PvP; ideal for first-hour growth.
- Mid-tier gyms — better gains per minute but often in contested zones.
- Advanced gyms — gated by stats, items, or story flags; verify requirements on Fighting Styles if a style trainer sits nearby.
Minimize downtime: food, medical supplies, and banking should sit on your loop path. Double-tap run (W+W on PC) between points, but disengage run near red-name players.
TP spending strategy
Think of TP as talent points you cannot easily refund:
- Primary stat — matches your chosen style (e.g., close-range styles favor different weights than kick-heavy kits).
- Secondary stat — keeps you from being one-shot while learning parries.
- Utility stat — stamina-related or speed investments pay off in raids and fight club.
Cross-reference Fighting Styles Tier List before dumping TP into obsolete paths. If Muay Thai or another community favorite fits your plan, train toward its trainer checklist early — details on Fighting Styles.
Money methods that fund training
Styles, gear, and fast travel cost in-game yen (or equivalent currency). Reliable money methods include:
- Odd jobs and NPC missions near starter stations — low risk, steady income.
- Repeatable bounties once your Controls are stable enough for PvP.
- Organization stipends after joining a group — see Raids and Organizations.
- Boss or raid loot sold to vendors when your stats meet entry requirements.
Bank cash before entering fight club or open-world PvP. Losing a fight without savings delays trainer payments by hours.
Daily training routine (recommended)
| Phase | Activity | Goal |
|---|---|---|
| Warm-up | 5 min combo drill | Consistent M1/M2 and parry timing |
| Core | 20–30 min gym loop | Target stats for next unlock |
| Income | 10–15 min jobs or safe farms | Style fee or gear |
| TP | Spend on threshold | Hit trainer or gym gate |
| Review | Check wiki tools | Adjust plan vs Tier List |
Mobile players benefit from shorter bursts with food breaks; stamina UI is the same as PC.
Common training mistakes
- Random stat dumping — locks you out of trainer requirements.
- Skipping hunger management — slows recovery between sets.
- Buying a style before stats — move set means little without numbers.
- Ignoring codes — active Codes sometimes grant boosts or currency; verify each code is real before redeeming.
- Grinding PvP too early — org raids and fight club pay better once fundamentals land from Getting Started.
When to pivot to group content
Once your checklist shows baseline offense, defense, and one reliable parry read, start Raids and Organizations. Group content accelerates money and rare drops but punishes under-trained accounts.
Related guides
- Getting Started — day-one checklist
- Controls — inputs that preserve stamina
- Fighting Styles — trainer costs and Muay Thai notes
- Raids and Organizations — fight club and boss routes
- Training Checklist — TP tracker
Frequently Asked Questions
Quick answers for RELEASE KEN players on Roblox.
What is the fastest way to gain stats in RELEASE KEN?
Run a tight gym loop aligned with your target style, spend TP at trainer thresholds, and bank money for unlock fees. Use the [Training Checklist](/tools/training-checklist/) and follow [Starter Build](/players/starter-build/) stat priorities.
What are training points (TP) used for?
TP advances individual stats beyond basic gym clicks. Save TP for gates that unlock new gyms, styles, or raid requirements rather than spreading points randomly.
How do I make money for style trainers?
Start with NPC jobs near starter hubs, then add bounties and org income once combat is stable. [Raids and Organizations](/guides/raids-and-organizations/) covers group payouts.
Should I train one stat or balance several?
Balance toward your build plan. Pure one-stat stacking often fails style or gym checks. Cross-check [Tier List](/tier-list/) and [Fighting Styles](/guides/fighting-styles/) for target numbers.
Do training costs change after updates?
Yes — MS: Ken is early access. Re-verify gym prices and trainer requirements after patches before long grind sessions.